Lawn to Garden
How to Remove Grass for Garden Beds: 4 Best DIY Methods
How to Remove Grass for Garden Beds: 4 Best DIY Methods
7
min read

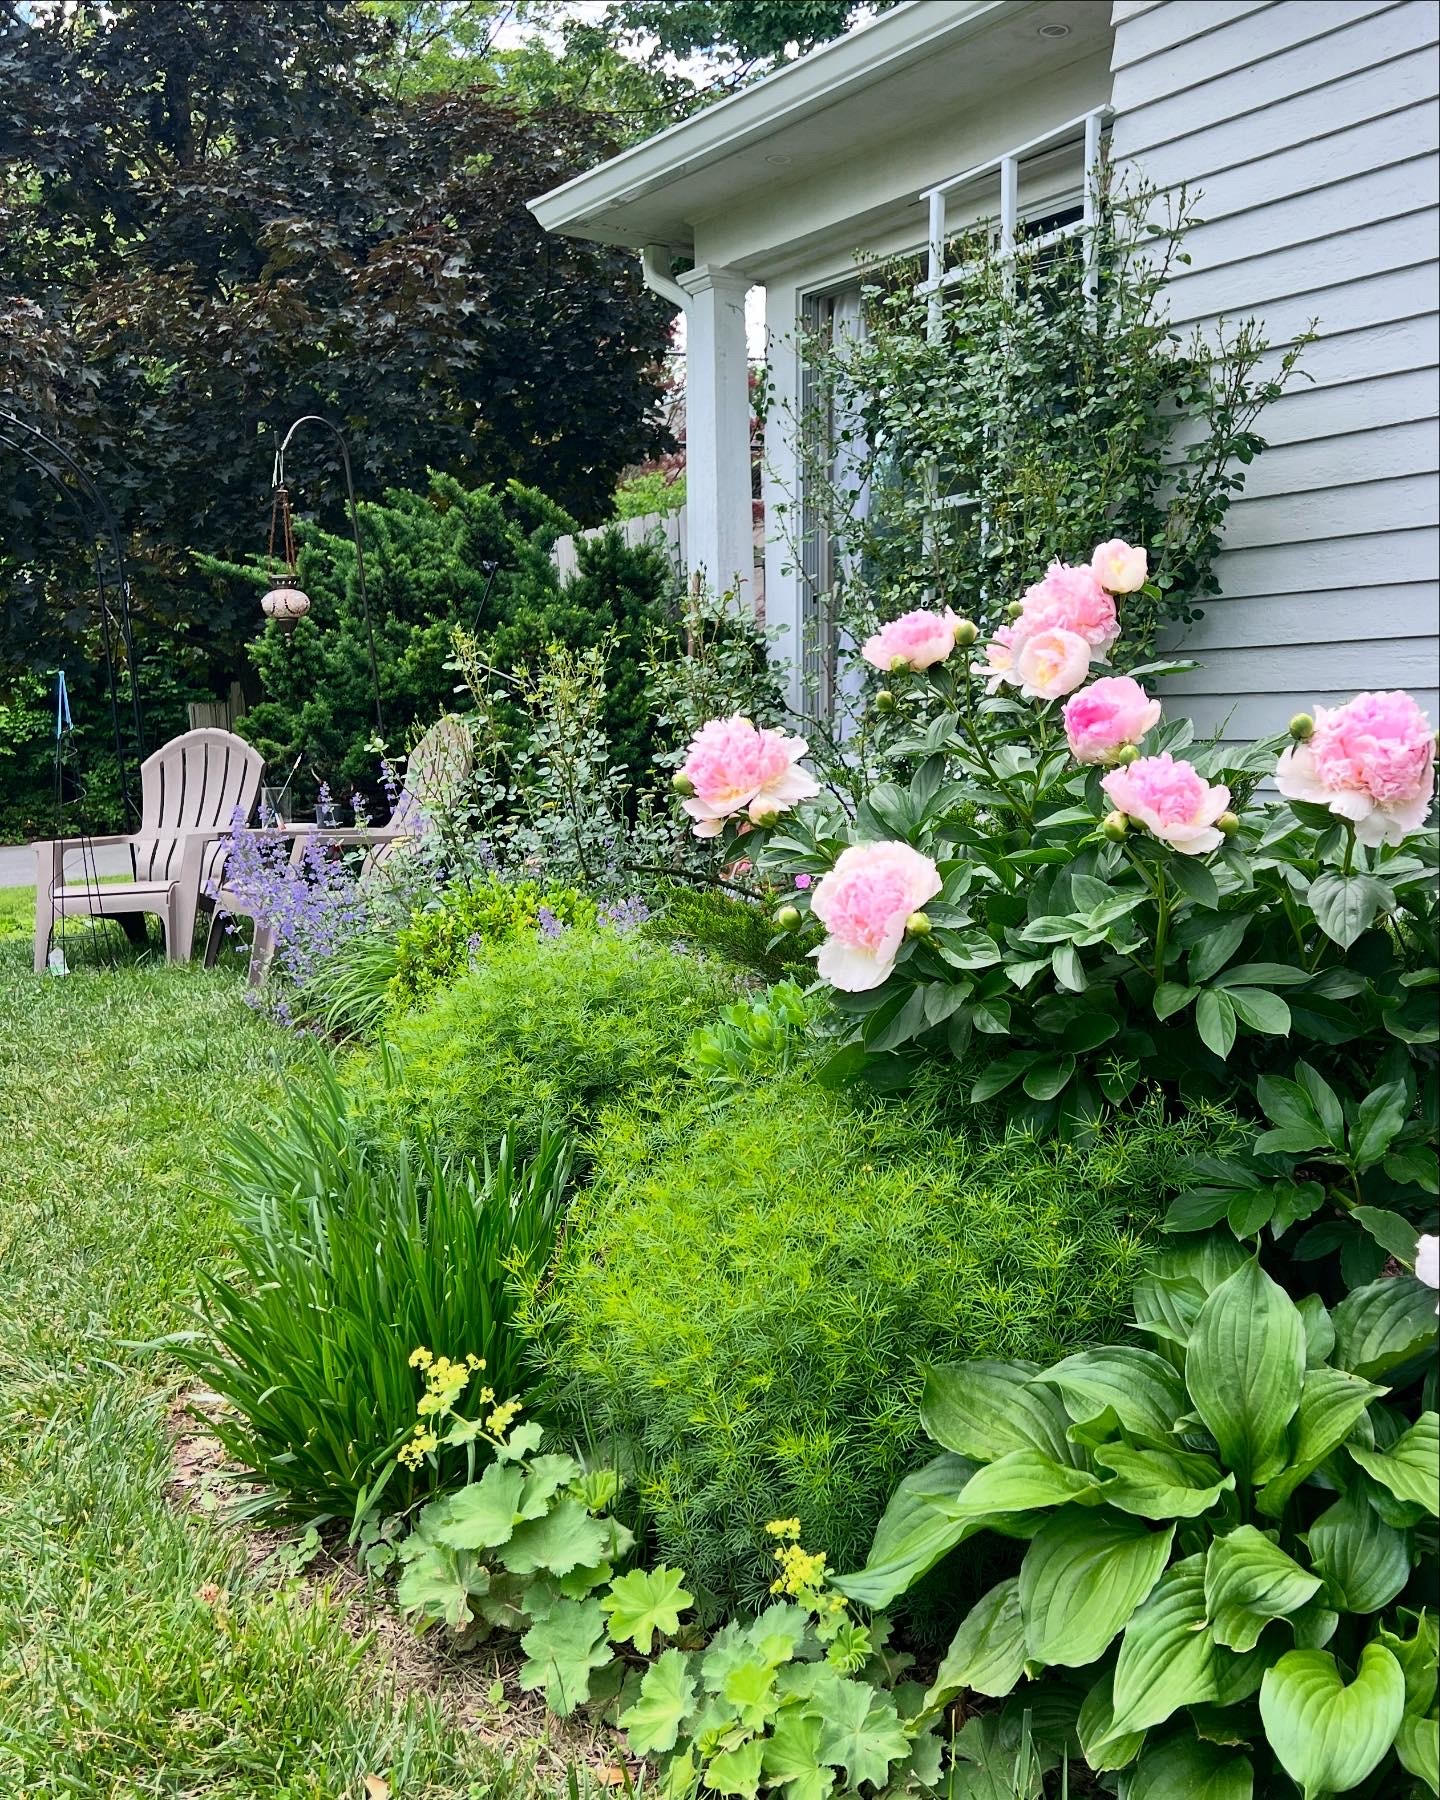
Perhaps you've decided to turn your front lawn into a garden, or create a romantic cottage garden flower bed in your backyard. You can already picture the flowers: a generous border, a few flowering shrubs, maybe a little grass path winding between them.
But first, there's the grass.
Suddenly, creating a garden sounds less like a lovely weekend project and more like an excavation. Where does all that sod go? How much rich topsoil will you lose? Do you have to wait months before planting? And can you do it yourself without hiring a crew or renting heavy machinery?
Good news: I now have ten garden beds in my front yard, and that number keeps growing! I created every single one myself, working full-time while raising my family. Because I'd rather spend my money on plants than chiropractor visits, I've tested several ways to remove grass in search of the easiest, lowest-waste method.
Here is a breakdown of four turf removal methods, my honest take on each, and the one "slice-and-flip" secret that lets me plant the very same day without hauling away a single wheelbarrow of dirt.
Lawn Removal Comparison: At-a-Glance
Method | Physical Effort | Wait Time to Plant | Cost / Equipment | Topsoil Kept? |
|---|---|---|---|---|
1. Dig & Remove Sod | High (heavy lifting) | Immediate | Low (spade or sod cutter) | No (hauled away) |
2. Sheet Mulching (Cardboard) | Low–Medium | 4–6 months | Medium (cardboard + compost) | Yes (builds soil) |
3. Solarization (Plastic) | Low | 6–8 weeks | Low (clear plastic sheeting) | Yes (but heat also kills soil life) |
4. Slice & Flip (My Favorite) | Medium | Immediate | Almost zero (flat spade) | Yes (100% kept) |
1. Digging and Hauling Sod (The Traditional Way)
This is the straightforward approach most gardening books recommend: cut the turf into squares, slide a flat spade underneath the crown and roots, and lift the sod out. For larger lawns, renting a mechanical sod cutter speeds up the slicing.
You're left with clean, bare soil ready to be amended and planted.
My honest take: The bed looks neat and ready, but then you look at the mountain beside it. Sod is shockingly heavy. More importantly, those thick green chunks contain the richest topsoil and organic matter in your yard. You can compost the sod or stack it in a hidden corner, but moving half a lawn is backbreaking labor.
Best for: Very small beds, or projects where you need to lower the soil grade to install a stone patio or flush walkway.
2. Cardboard & Sheet Mulching (Lasagna Gardening)
If you've searched for no-dig lawn removal, you've likely seen this method. Corrugated cardboard acts as a light barrier, smothering the grass underneath.
Always use plain, unwaxed cardboard with tape and shipping labels removed, and overlap the seams by at least 6 to 8 inches so persistent grass runners can't find sunlight.
There are two ways to approach this:
Option A: Sheet Mulching (Build Soil on Top)
With classic sheet mulching, you wet down the cardboard and layer compost, leaf mold, and arborist wood chips on top (often called a lasagna garden). The cardboard gradually decomposes, turning into dark, crumbly soil.
My take: You don't have to wait for everything to decompose before planting. You can cut "X" slits through the cardboard and dig into the ground below. However, bringing in cubic yards of compost and mulch was simply too much hauling for a supposedly "easy" no-dig method.
Best for: Homeowners who have bulk mulch delivered and don't mind building raised beds over turf.
Option B: The Over-Winter Smother (Cover in Fall, Plant in Spring)
Lay cardboard flat over the grass, weigh it down with stones or bricks, and leave it alone all winter. No heavy soil on top, just cardboard and weight.
My take: When you peel the cardboard back in spring, the lawn is mostly dead, though you'll still need to break up stubborn crowns or turn over lingering patches. It works well, but it requires months of planning ahead. When I decide I want a new flower bed, I usually want to plant it that very afternoon!
Best for: Fall planning, when you want to prep beds over winter without buying bags of compost.
3. Soil Solarization (Using Summer Sun)
Solarization uses clear plastic to trap heat, "baking" the grass and weed seeds underneath until they die.
To do it, you scalp the lawn with a mower, soak the soil thoroughly, lay clear plastic tight against the ground, and bury the edges to seal in the heat during hot summer weather.
Note: solarization needs clear plastic to create a greenhouse effect. Black plastic or an opaque tarp blocks light rather than trapping heat, a related process called occultation.
My take: Solarization takes 6 to 8 weeks of blazing heat, and a giant sheet of plastic in the front yard during peak summer isn't the cottage look most neighbors want to see. Plus, you have to wait out the hottest weeks before you can enjoy any blooms.
Best for: Large, sunny backyard plots with tough invasive weeds.
4. The Slice-and-Flip Method: Plant Immediately Without Hauling Dirt
Here was the question that stopped me when creating my own borders: why carry away precious topsoil when I'm trying to build a garden bed right there?
Instead of hauling sod away or waiting months for it to rot, I use the slice-and-flip method.
How to do it
Slice the grid: Using a sharpened flat spade or edging shovel, cut your garden bed footprint into manageable 12 x 12-inch squares.
Sever the roots: Slide the spade horizontally 2 to 3 inches under the turf to cut through the root layer.
Flip it face down: Turn each square of sod over in its own spot, so the grass faces down into the soil and the roots point up.
Plant the same day: Dig your planting holes right through the flipped sod into the soil below. Use the leftover soil and sod chunks from those holes to build up low spots.
Top with mulch: Cover the whole bed with 2 to 3 inches of shredded mulch or compost to block out light and finish the look.
My honest take: This is my absolute favorite method. It requires some digging, but you skip 100% of the hauling. The buried grass breaks down under the mulch, feeding soil life and earthworms right where your new perennials live.
Ready to fill your new garden bed? Shop the workhorse perennials, shrubs and seeds I grow in my plant shop.
Will the Grass Grow Back?
Some blades can, especially along the edges. No method guarantees you'll never pull a stray blade of grass again.
Exposed edges may sprout, and spreading grasses with deep runners (like Bermuda grass) need watching. As your new bed settles in during its first season, check the edges every week or two and pull any green shoots before they root in among your perennials.
The Verdict: Keep the Soil Where It Belongs
The biggest advantage of keeping your sod on site is that you aren't paying twice: first in labor to wheel your best topsoil away, and then in dollars to buy bagged topsoil to refill the hole.
You're using what your yard already has to feed your future garden.
See the proof: Want to see how this looks once the borders fill in? See my front-yard lawn-to-garden transformation.
What to plant first: Once your turf is flipped, start with tough, non-flopping perennials. Browse the plants I recommend in my plant shop to get your new border going.
Key Takeaways
Don't throw away sod: it holds the most organic matter and soil life in your yard.
Fastest no-haul option: slicing and flipping turf upside down lets you plant potted shrubs and perennials on day one.
Cardboard takes patience: sheet mulching (lasagna gardening) is easy on your back but takes 4 to 6 months to break down, unless you cut through it to plant.
Mulch over flipped sod: always cover it with 2 to 3 inches of mulch or compost to keep light away from the grass.
Frequently Asked Questions
What is the easiest way to remove grass for a garden bed?
If you want to avoid digging, sheet mulching with overlapping cardboard and wood chips is the easiest physical method, though it takes several months to break down. If you want to plant right away without renting machinery or hauling wheelbarrows, slicing and flipping the turf upside down is the fastest no-haul method.
Can you turn sod upside down to make a flower bed?
Yes. Flipping sod grass-side down smothers the grass while keeping the topsoil, roots, and organic matter in the bed. As the buried grass breaks down, it turns into rich soil for your new flowers.
Can I plant immediately after flipping sod?
Yes. You can dig planting holes right through the flipped sod for potted perennials, roses, and shrubs. If you plan to sow small seeds directly, wait a few weeks for the surface to settle and add a 2-inch layer of fine compost on top to make an even seedbed.
Does cardboard have to break down completely before planting?
No. Cut an "X" through the wet cardboard with a knife or spade, fold back the flaps, and dig your planting hole into the soil below.
Do I need to throw away cut sod?
No. Throwing away sod strips your yard of topsoil and soil life. You can stack it upside down in a compost pile, use it to fill low spots, or flip it right in the new bed to break down in place.
Happy gardening. 🌸
Perhaps you've decided to turn your front lawn into a garden, or create a romantic cottage garden flower bed in your backyard. You can already picture the flowers: a generous border, a few flowering shrubs, maybe a little grass path winding between them.
But first, there's the grass.
Suddenly, creating a garden sounds less like a lovely weekend project and more like an excavation. Where does all that sod go? How much rich topsoil will you lose? Do you have to wait months before planting? And can you do it yourself without hiring a crew or renting heavy machinery?
Good news: I now have ten garden beds in my front yard, and that number keeps growing! I created every single one myself, working full-time while raising my family. Because I'd rather spend my money on plants than chiropractor visits, I've tested several ways to remove grass in search of the easiest, lowest-waste method.
Here is a breakdown of four turf removal methods, my honest take on each, and the one "slice-and-flip" secret that lets me plant the very same day without hauling away a single wheelbarrow of dirt.
Lawn Removal Comparison: At-a-Glance
Method | Physical Effort | Wait Time to Plant | Cost / Equipment | Topsoil Kept? |
|---|---|---|---|---|
1. Dig & Remove Sod | High (heavy lifting) | Immediate | Low (spade or sod cutter) | No (hauled away) |
2. Sheet Mulching (Cardboard) | Low–Medium | 4–6 months | Medium (cardboard + compost) | Yes (builds soil) |
3. Solarization (Plastic) | Low | 6–8 weeks | Low (clear plastic sheeting) | Yes (but heat also kills soil life) |
4. Slice & Flip (My Favorite) | Medium | Immediate | Almost zero (flat spade) | Yes (100% kept) |
1. Digging and Hauling Sod (The Traditional Way)
This is the straightforward approach most gardening books recommend: cut the turf into squares, slide a flat spade underneath the crown and roots, and lift the sod out. For larger lawns, renting a mechanical sod cutter speeds up the slicing.
You're left with clean, bare soil ready to be amended and planted.
My honest take: The bed looks neat and ready, but then you look at the mountain beside it. Sod is shockingly heavy. More importantly, those thick green chunks contain the richest topsoil and organic matter in your yard. You can compost the sod or stack it in a hidden corner, but moving half a lawn is backbreaking labor.
Best for: Very small beds, or projects where you need to lower the soil grade to install a stone patio or flush walkway.
2. Cardboard & Sheet Mulching (Lasagna Gardening)
If you've searched for no-dig lawn removal, you've likely seen this method. Corrugated cardboard acts as a light barrier, smothering the grass underneath.
Always use plain, unwaxed cardboard with tape and shipping labels removed, and overlap the seams by at least 6 to 8 inches so persistent grass runners can't find sunlight.
There are two ways to approach this:
Option A: Sheet Mulching (Build Soil on Top)
With classic sheet mulching, you wet down the cardboard and layer compost, leaf mold, and arborist wood chips on top (often called a lasagna garden). The cardboard gradually decomposes, turning into dark, crumbly soil.
My take: You don't have to wait for everything to decompose before planting. You can cut "X" slits through the cardboard and dig into the ground below. However, bringing in cubic yards of compost and mulch was simply too much hauling for a supposedly "easy" no-dig method.
Best for: Homeowners who have bulk mulch delivered and don't mind building raised beds over turf.
Option B: The Over-Winter Smother (Cover in Fall, Plant in Spring)
Lay cardboard flat over the grass, weigh it down with stones or bricks, and leave it alone all winter. No heavy soil on top, just cardboard and weight.
My take: When you peel the cardboard back in spring, the lawn is mostly dead, though you'll still need to break up stubborn crowns or turn over lingering patches. It works well, but it requires months of planning ahead. When I decide I want a new flower bed, I usually want to plant it that very afternoon!
Best for: Fall planning, when you want to prep beds over winter without buying bags of compost.
3. Soil Solarization (Using Summer Sun)
Solarization uses clear plastic to trap heat, "baking" the grass and weed seeds underneath until they die.
To do it, you scalp the lawn with a mower, soak the soil thoroughly, lay clear plastic tight against the ground, and bury the edges to seal in the heat during hot summer weather.
Note: solarization needs clear plastic to create a greenhouse effect. Black plastic or an opaque tarp blocks light rather than trapping heat, a related process called occultation.
My take: Solarization takes 6 to 8 weeks of blazing heat, and a giant sheet of plastic in the front yard during peak summer isn't the cottage look most neighbors want to see. Plus, you have to wait out the hottest weeks before you can enjoy any blooms.
Best for: Large, sunny backyard plots with tough invasive weeds.
4. The Slice-and-Flip Method: Plant Immediately Without Hauling Dirt
Here was the question that stopped me when creating my own borders: why carry away precious topsoil when I'm trying to build a garden bed right there?
Instead of hauling sod away or waiting months for it to rot, I use the slice-and-flip method.
How to do it
Slice the grid: Using a sharpened flat spade or edging shovel, cut your garden bed footprint into manageable 12 x 12-inch squares.
Sever the roots: Slide the spade horizontally 2 to 3 inches under the turf to cut through the root layer.
Flip it face down: Turn each square of sod over in its own spot, so the grass faces down into the soil and the roots point up.
Plant the same day: Dig your planting holes right through the flipped sod into the soil below. Use the leftover soil and sod chunks from those holes to build up low spots.
Top with mulch: Cover the whole bed with 2 to 3 inches of shredded mulch or compost to block out light and finish the look.
My honest take: This is my absolute favorite method. It requires some digging, but you skip 100% of the hauling. The buried grass breaks down under the mulch, feeding soil life and earthworms right where your new perennials live.
Ready to fill your new garden bed? Shop the workhorse perennials, shrubs and seeds I grow in my plant shop.
Will the Grass Grow Back?
Some blades can, especially along the edges. No method guarantees you'll never pull a stray blade of grass again.
Exposed edges may sprout, and spreading grasses with deep runners (like Bermuda grass) need watching. As your new bed settles in during its first season, check the edges every week or two and pull any green shoots before they root in among your perennials.
The Verdict: Keep the Soil Where It Belongs
The biggest advantage of keeping your sod on site is that you aren't paying twice: first in labor to wheel your best topsoil away, and then in dollars to buy bagged topsoil to refill the hole.
You're using what your yard already has to feed your future garden.
See the proof: Want to see how this looks once the borders fill in? See my front-yard lawn-to-garden transformation.
What to plant first: Once your turf is flipped, start with tough, non-flopping perennials. Browse the plants I recommend in my plant shop to get your new border going.
Key Takeaways
Don't throw away sod: it holds the most organic matter and soil life in your yard.
Fastest no-haul option: slicing and flipping turf upside down lets you plant potted shrubs and perennials on day one.
Cardboard takes patience: sheet mulching (lasagna gardening) is easy on your back but takes 4 to 6 months to break down, unless you cut through it to plant.
Mulch over flipped sod: always cover it with 2 to 3 inches of mulch or compost to keep light away from the grass.
Frequently Asked Questions
What is the easiest way to remove grass for a garden bed?
If you want to avoid digging, sheet mulching with overlapping cardboard and wood chips is the easiest physical method, though it takes several months to break down. If you want to plant right away without renting machinery or hauling wheelbarrows, slicing and flipping the turf upside down is the fastest no-haul method.
Can you turn sod upside down to make a flower bed?
Yes. Flipping sod grass-side down smothers the grass while keeping the topsoil, roots, and organic matter in the bed. As the buried grass breaks down, it turns into rich soil for your new flowers.
Can I plant immediately after flipping sod?
Yes. You can dig planting holes right through the flipped sod for potted perennials, roses, and shrubs. If you plan to sow small seeds directly, wait a few weeks for the surface to settle and add a 2-inch layer of fine compost on top to make an even seedbed.
Does cardboard have to break down completely before planting?
No. Cut an "X" through the wet cardboard with a knife or spade, fold back the flaps, and dig your planting hole into the soil below.
Do I need to throw away cut sod?
No. Throwing away sod strips your yard of topsoil and soil life. You can stack it upside down in a compost pile, use it to fill low spots, or flip it right in the new bed to break down in place.
Happy gardening. 🌸

Written by Jolanta Reynolds
You Might Like
You Might Like


You Might Like

Subscribe to my newsletter
Get new garden posts, seasonal tips, and what's blooming in my New Jersey cottage garden — straight to your inbox.
By subscribing, you agree to the Privacy Policy
Subscribe
to my
newsletter
Get new garden posts, seasonal tips, and what's blooming in my New Jersey cottage garden — straight to your inbox.
By subscribing, you agree to the Privacy Policy